
Interface previews
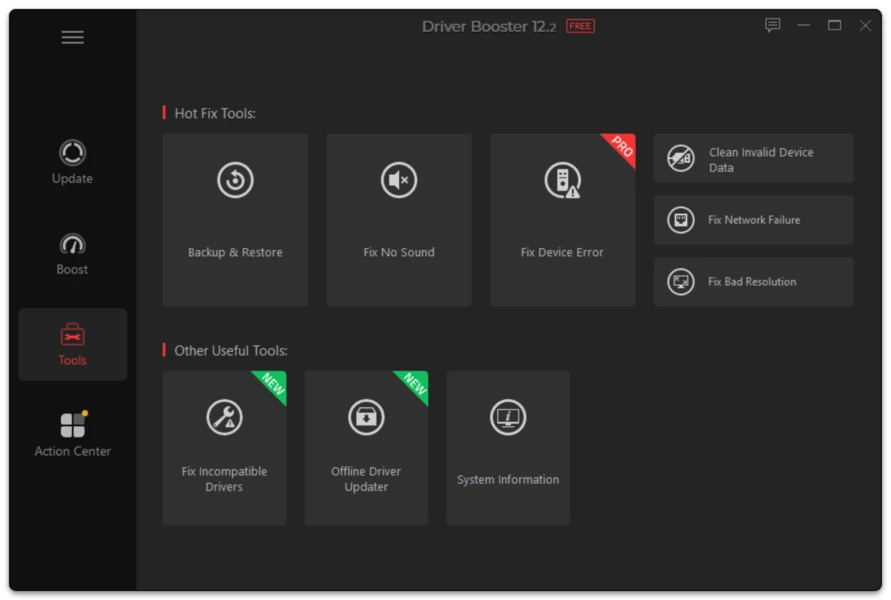
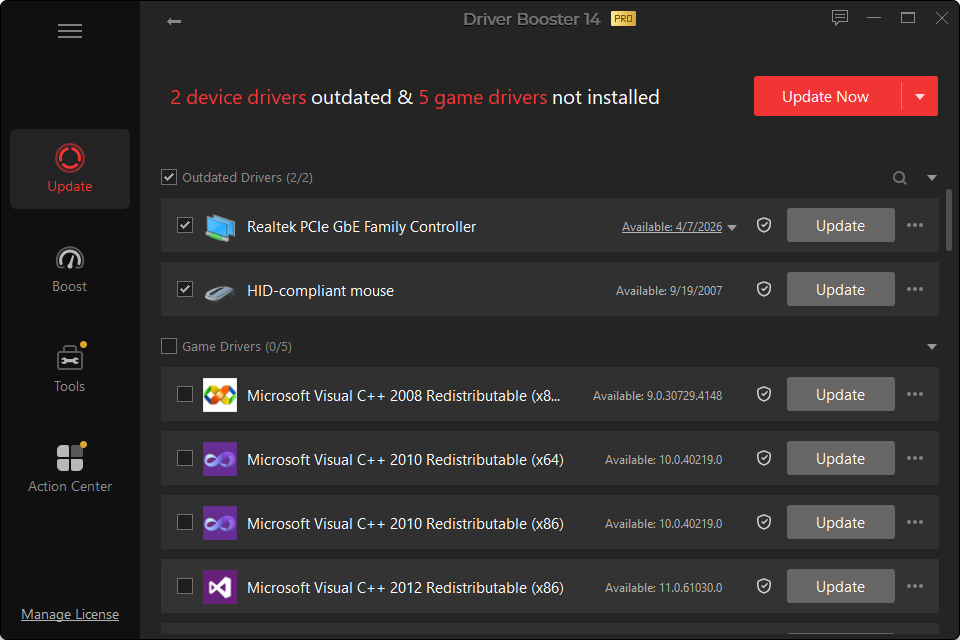
Installing the application itself is straightforward. The more important part is preparing for the driver changes that may follow.
Before Installation
- Save your work.
- Confirm you are using an administrator account.
- Finish a pending Windows restart first.
- Avoid installing while Windows Update is already replacing drivers.
- If you are troubleshooting a device, record its current driver version.
Installation Steps
Step 1: Download the installer
Use the site’s Driver Booster download button.
Step 2: Run the setup file
Open the downloaded executable. If Windows requests administrator approval, check the publisher information shown in the prompt and continue only if it matches the application you intended to install.
Step 3: Read the installer
Review the installation screens, options and destination. Do not assume every optional selection is required for Driver Booster itself.
Step 4: Finish installation
Let setup complete. Launch the application when ready.
Step 5: Run the first scan
Start a scan, but do not use the result screen as a checklist that must be cleared to zero. Review the devices.
Step 6: Prepare recovery
Before changing important drivers, keep System Restore available and understand the application’s rollback/restore options.
Step 7: Update selectively
If you installed Driver Booster to fix one device, update that device first. Test it before changing unrelated components.
Installation Troubleshooting
Setup closes immediately
Download a fresh installer, restart Windows and try again. Security software or a damaged partial download can interfere with setup.
“Another installation is in progress”
Allow Windows Installer or Windows Update to finish, then reboot.
Not enough disk space
Driver packages need temporary space beyond the small application installer. Free storage before downloading large graphics-driver packages.
Scan cannot connect
Confirm that Windows has internet access and that firewall/proxy settings are not blocking the application.